Raspberry Pi 2/3: Chromium in Kiosk mode


Introduction
At work we have a number of screens around the office used for monitoring.
To keep the costs down, solution versatile and setup simple the plan was always to use a Raspberry Pi per screen to display data in a browser (Kiosk Mode).
To manage configuration and updates without having to switch lots of SD cards every time a change needs to be made the plan is to combine this approach (probably the "Lite" version) with Network Booting.
Since we first did this the process has become more simple, this guide is based on the following GitHub Article: https://github.com/elalemanyo/raspberry-pi-kiosk-screen.
There are a number of versions outlined below which are progressively more space efficient.
The Full Fat Version
This approach starts with the full Raspbian install, which looks more polished out of the box but comes with a lot of stuff that is not needed, its quick and easy to work back from this working GUI install to get a Kiosk mode. It also supports the Rasbperry Pi Touch Screen 'out of the box'. The image ended up at around 3GB.
Step 1: Raspbian SD Card
Download the Raspbian (non-Lite) from here.
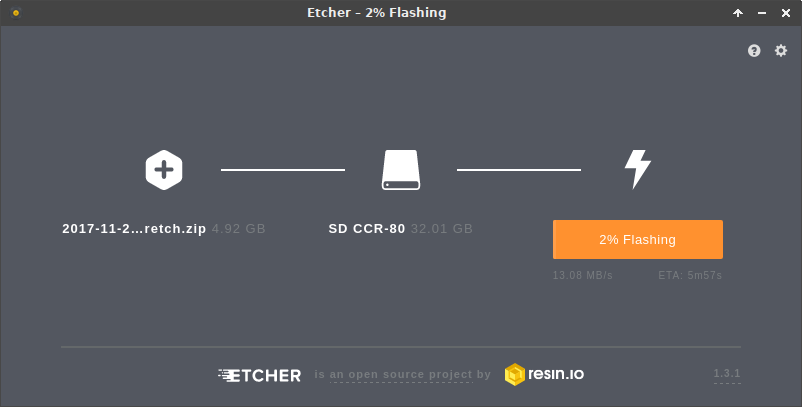
Flash to a Micro SD card, the easiest way is to use Etcher (it will even take a zip and use that, and verify the content after).
Step 2: Console Access
Boot the Pi from the new SD card
Ensure you can control the Pi, either using a Keyboard, (Mouse) and Display, or using sudo raspi-config to enable SSH.
Step 3: Wait for Network (optional)
Using sudo raspi-config enable Wait for Network:
- Run
sudo raspi-config. - Select Option 3 (Boot Options).
- Select B2 (Wait for Network at Boot).
- Select Yes
- Exit
Step 4: Do some clean-up (optional)
The non-lite version of Raspbian comes with quite a few things that are not needed for a Kiosk-style display which bloat the install.
They can be removed, after which an autoremove will take care of any dangling dependencies:
sudo apt-get remove --purge wolfram-engine scratch nuscratch sonic-pi idle3 smartsim java-common minecraft-pi python-minecraftpi python3-minecraftpi libreoffice python3-thonny geany claws-mail bluej greenfoot
sudo apt-get autoremove
Step 5: Ensure everything is up-to-date
sudo apt-get update
sudo apt-get upgrade
sudo apt-get dist-upgrade
Step 6: Install Chrome etc
We need chromium-browser as well as unclutter (to hide the cursor).
sudo apt-get install unclutter chromium-browser
Step 7: Automatically start Chrome
Edit ~/.config/lxsession/LXDE-pi/autostart the following.
The first 3 lines prevent screen blanking - for one project I am using a touch screen so these could be removed to preserve life and make it wake on touch.
The sed line ensures chromium thinks it shut down cleaning, even if it didn't to prevent tab restore warnings.
@xset s off
@xset -dpms
@xset s noblank
@sed -i 's/"exited_cleanly": false/"exited_cleanly": true/' ~/.config/chromium-browser Default/Preferences
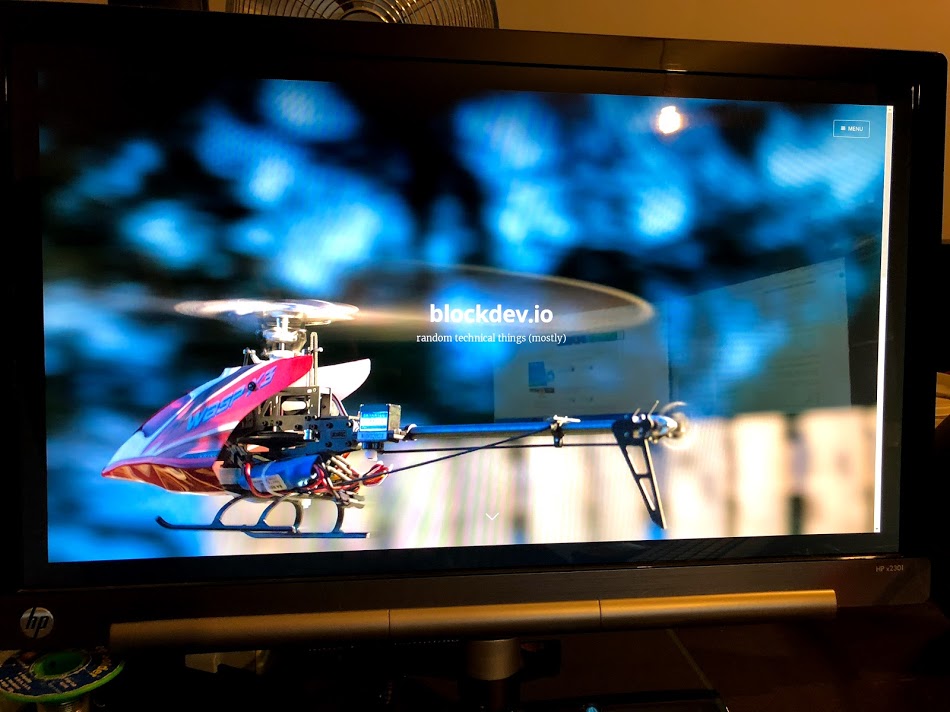
@chromium-browser --noerrdialogs --kiosk https://blockdev.io --incognito --disable-translate
The guide on GitHub includes the following at the start of the file, but if you omit them then it will skip loading the full desktop environment.
@lxpanel --profile LXDE-pi
@pcmanfm --desktop --profile LXDE-pi
Reboot and it is done!

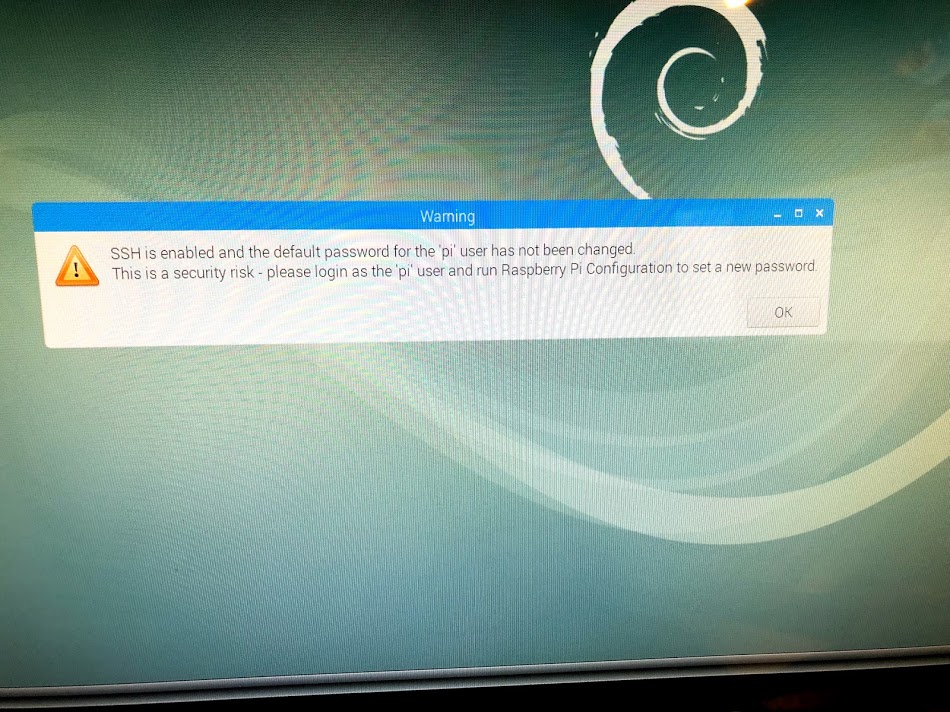
Note: If the Pi default user pi has the default password raspberry you will get a verbose warning on boot:
The Lite Version
This approach starts from the slimmed down Raspbian Lite image and adds the required dependencies to get a basic Chromium-based Kiosk working. After installing LXDE it does support the touchscreen too. The image comes in at around 2Gb.
Step 1: Raspbian Lite SD Card
Download the Raspbian Lite from here.
Flash to a Micro SD card, the easiest way is to use Etcher (it will even take a zip and use that, and verify the content after).

Step 2: Console Access
Boot the Pi from the new SD card
Ensure you can control the Pi, either using a Keyboard, (Mouse) and Display, or using sudo raspi-config to enable SSH.
Step 3: Wait for Network (optional)
Using sudo raspi-config enable Wait for Network:
- Run
sudo raspi-config. - Select Option 3 (Boot Options).
- Select B2 (Wait for Network at Boot).
- Select Yes
- Exit
Step 4: Ensure everything is up-to-date
sudo apt-get update
sudo apt-get upgrade
sudo apt-get dist-upgrade
Step 5: Install Chrome etc
We need chromium-browser as well as unclutter (to hide the cursor) and lxde and its dependencies as a desktop environment.
sudo apt-get install chromium-browser unclutter lxde
Step 6: Enable GUI Boot and Auto Login
Then using raspi-config enable GUI Boot:
- Run
sudo raspi-config. - Select Option 3 (Boot Options).
- Select B1 (Desktop / CLI)
- Select B4 (Desktop / Autologin)
- Exit and Reboot
Step 7: Automatically start Chrome
Edit ~/.config/lxsession/LXDE/autostart the following.
The first 3 lines prevent screen blanking - for one project I am using a touch screen so these could be removed to preserve life and make it wake on touch.
The sed line ensures chromium thinks it shut down cleaning, even if it didn't to prevent tab restore warnings.
@xset s off
@xset -dpms
@xset s noblank
@sed -i 's/"exited_cleanly": false/"exited_cleanly": true/' ~/.config/chromium-browser Default/Preferences
@chromium-browser --noerrdialogs --kiosk https://blockdev.io --incognito --disable-translate
The guide on GitHub includes the following at the start of the file, but if you omit them then it will skip loading the full desktop environment.
@lxpanel --profile LXDE-pi
@pcmanfm --desktop --profile LXDE-pi
Reboot and it is done!
The Super Lite Version
This approach starts from the slimmed down Raspbian Lite image too and adds the required dependencies to get a basic Chromium-based Kiosk working. The image comes in at around 1.8Gb. The touchscreen also works.
Step 1: Raspbian Lite SD Card
Download the Raspbian Lite from here.
Flash to a Micro SD card, the easiest way is to use Etcher (it will even take a zip and use that, and verify the content after).
Step 2: Console Access
Boot the Pi from the new SD card
Ensure you can control the Pi, either using a Keyboard, (Mouse) and Display, or using sudo raspi-config to enable SSH.
Step 3: Wait for Network (optional)
Using sudo raspi-config enable Wait for Network:
- Run
sudo raspi-config. - Select Option 3 (Boot Options).
- Select B2 (Wait for Network at Boot).
- Select Yes
- Exit
Step 4: Ensure everything is up-to-date
sudo apt-get update
sudo apt-get upgrade
sudo apt-get dist-upgrade
Step 5: Install Chrome etc
We need chromium-browser as well as unclutter (to hide the cursor) and lightdm and its dependencies as a display manager.
sudo apt-get install chromium-browser unclutter lightdm
Step 6: Enable GUI Boot and Auto Login
Then using raspi-config enable GUI Boot:
- Run
sudo raspi-config. - Select Option 3 (Boot Options).
- Select B1 (Desktop / CLI)
- Select B4 (Desktop / Autologin)
- Exit and Reboot
Step 7: Automatically start Chrome
Configure /home/pi/.Xsession
xset s off
xset -dpms
xset s noblank
sed -i 's/"exited_cleanly": false/"exited_cleanly": true/' ~/.config/chromium-browser Default/Preferences
chromium-browser --noerrdialogs --kiosk https://blockdev.io --incognito --disable-translate --window-size=1920,1080 --window-position=0,0
By default it does not fill the screen like the other solutions:
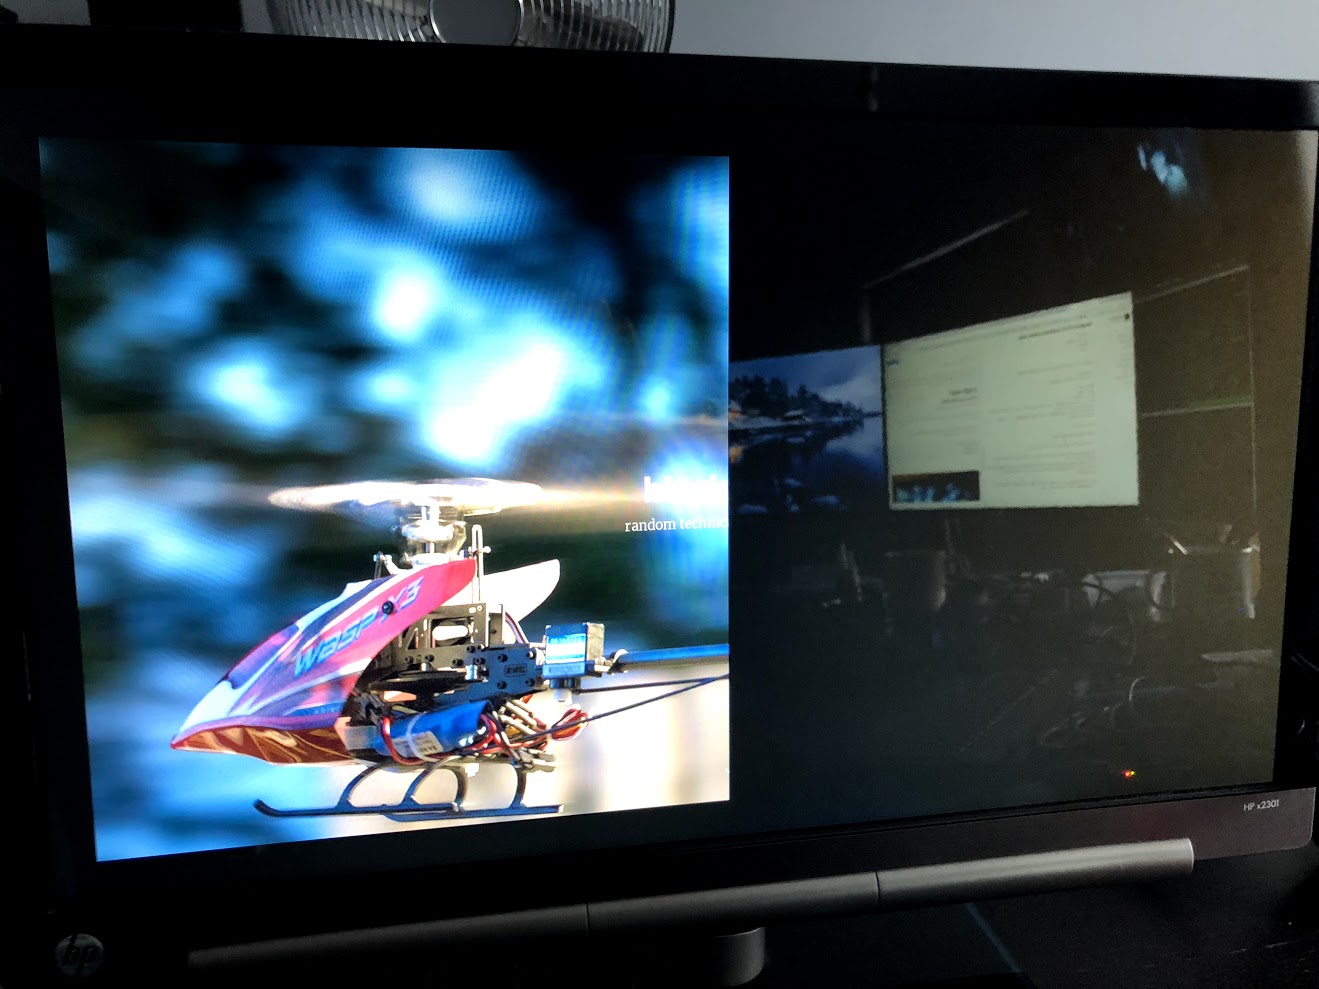
A quick fix is the specify the position and window size as done above:
In theory this is less flexible but when run on a smaller display it does seem to clamp the window-size to the maximum:

A few notes
Some notes have been pulled out into mini-guides:
Memory Usage and Regular Restarts
Some of our monitoring UI is quite JavaScript and visually intensive (in that the data updates very often, which includes updating plots) - we have observed the screens do seem to stop updating until the Pi is restarted if left on for some time.
Chrome has become more memory intensive over the years, and while we have not yet checked exactly what is going on, setting up a nightly restart cron may be wise to keep everything fresh.
Alternatively the GitHub page linked in the Intro offers other browser solutions which may be more lightweight.
Midori
Having tried Chrome, Firefox, etc, I have found Midori to work quite well, it is lighter than Chrome/Choromium but apparently based on WebKit.
Network Boot
Using the rsync steps at the end of the Network Boot guide it is possibly to take this setup, clone it and PXE Boot Pi 3s.
Debian Buster
While I have not tested or verified any compatibility, AndyW in the comments below observed that:
After changing to Buster I found that after step 6 (auto booting) I couldn't get an IP address
He fixed this by uncommenting controlgroup wheel in /etc/dhcpcd.conf.